Our realtor looked at us like we were nuts.
“You have to have a WHAT?”
I insisted that there be a room that we could dedicate to homeschooling. I know many people that homeschool at their kitchen room table, but I know how hard that can be. I wanted a room that could handle the seriously fun work of learning!
I told our realtor that the room could be anything from an extra bedroom, to a loft, to a formal (unnecessary) dining room (which is what we ended up with).
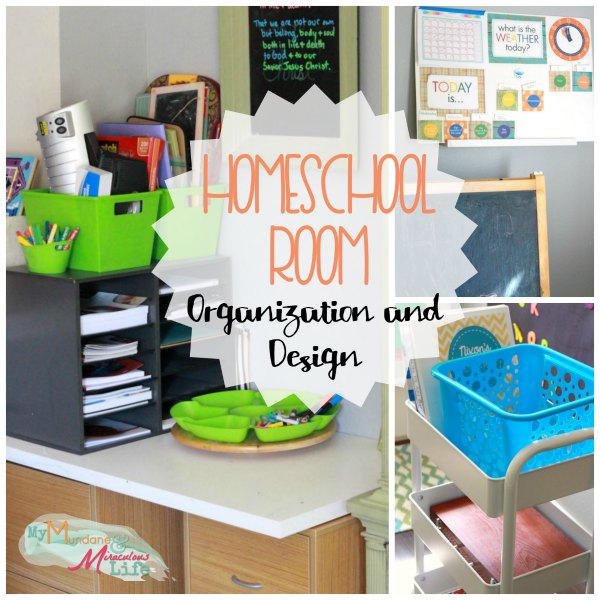
So now that my son is finally old enough to start kindergarten, let me give you a tour of our homeschool room!
This post contains affiliate links for your convenience. Read my full disclosure policy here.
Re-purpose What You Already Have
Before going out to buy more stuff, take a creative look around your house. What could you use in an unorthodox way to make your homeschool room function well for your family?
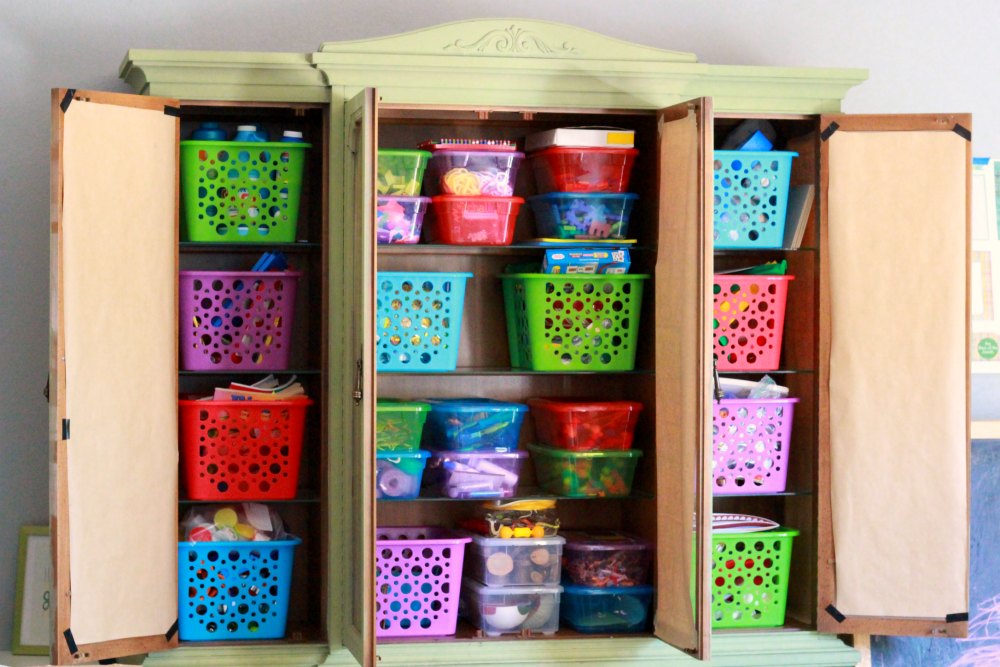
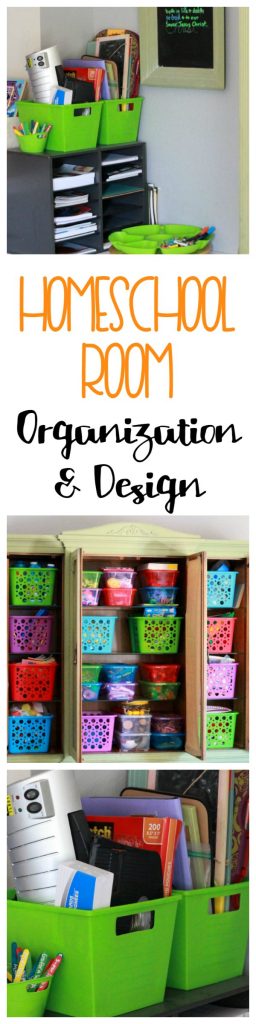
When we moved into this house, the previous owners left us this huge dining room hutch. It was an ugly color and all I could think about was how on earth we were going to drag it to the curb without breaking our backs. Then I realized that if I covered up the glass doors, I could store all sorts of things besides dishes in it. So I painted it green, covered the glass with wrapping paper of all things, and I couldn’t be more pleased! Check out all it can hold in the top half alone!
Contain, Contain, Contain
If you want your stuff to stay organized, it needs to have a “home”. This is obvious, but takes quite a bit of thought. I’ve grown to love a tubs and buckets system. And you need BOTH. Here’s why: the tubs have lids and contain all the small stuff like mini figures for sensory bins, assorted rubber stamps
, and letter manipulatives
. The buckets/bins handle the larger or oddly shaped items that won’t fit nicely in the tubs. (See example below). They’re also more easily accessible because there’s no lid to fumble with.
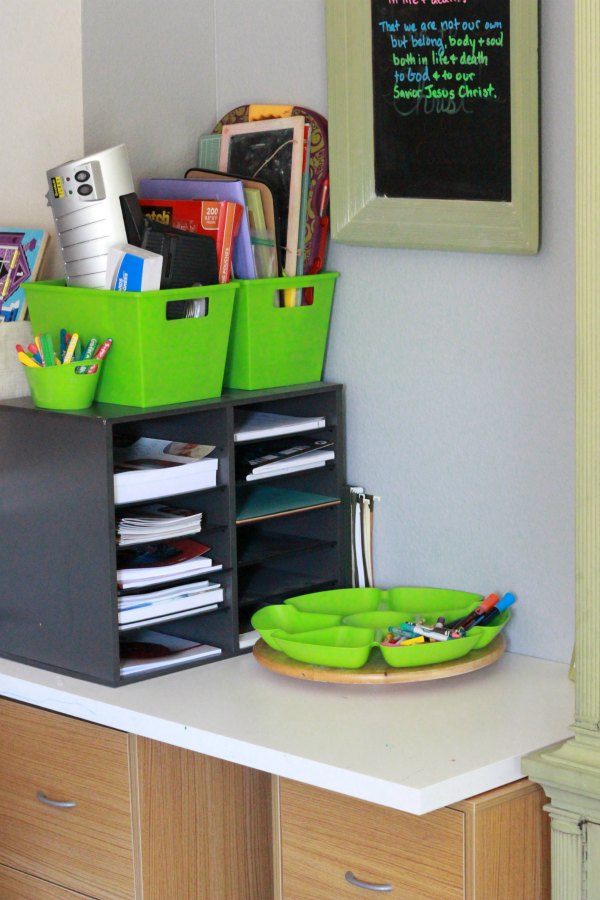
We also have a small paper storage shelving unit, that holds our curriculum textbooks.
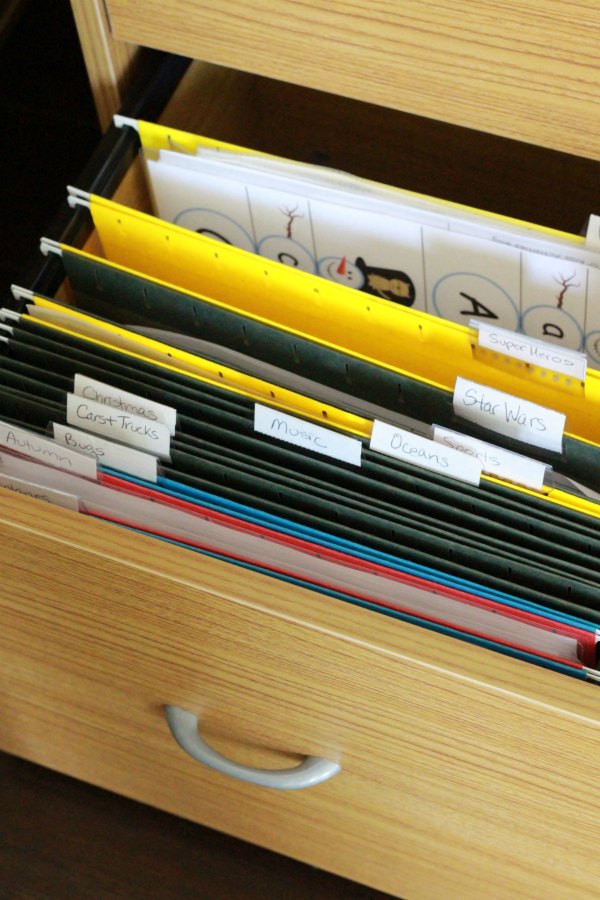
And don’t forget paper storage! I couldn’t get by without some hanging file folders! I save a lot of our themed printables for the younger ones to do when the time comes. Less paper, ink, and cutting!
Use Wall Space Wisely
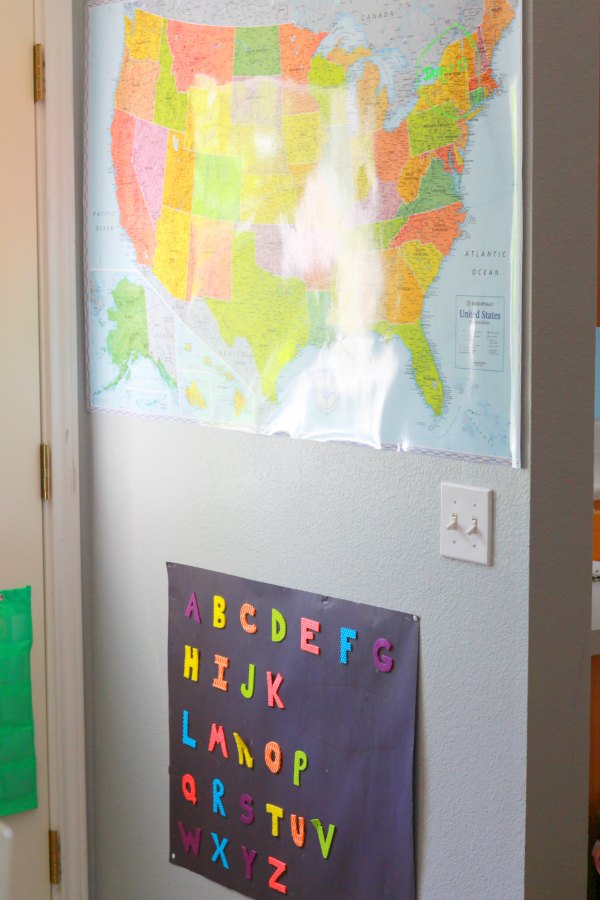
While I love our little dining room converted into a homeschool room, it is lacking one thing, wall space! There’s really only one full wall and it’s covered by the hutch. Since the place is already small, I knew we had to fit as much vertically as we can.
We have a large US map that we can write on and erase. My little ones still love using our sensory alphabet poster to trace their letters. Our back door holds our visual schedule (we printed ours for free).
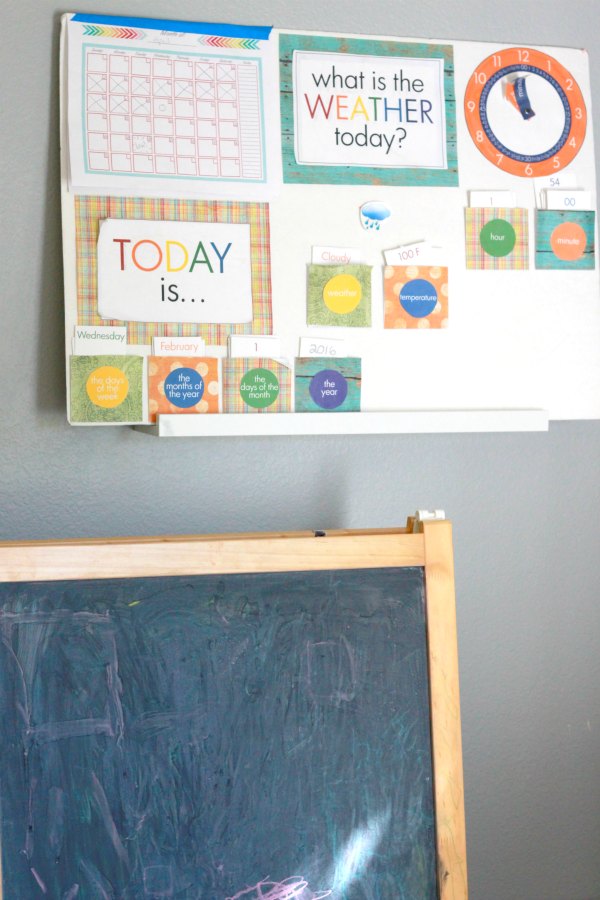
In another small corner we have our “calendar time” board. We use a picture frame ledge so that we can easily pull it down off the wall when we want to get our hands on it each morning before we start our day. In a previous picture you saw our blackboard. We also have curtain rod we converted into an art display, but it’s broken now. Sorry!
Think Beyond the Four Walls
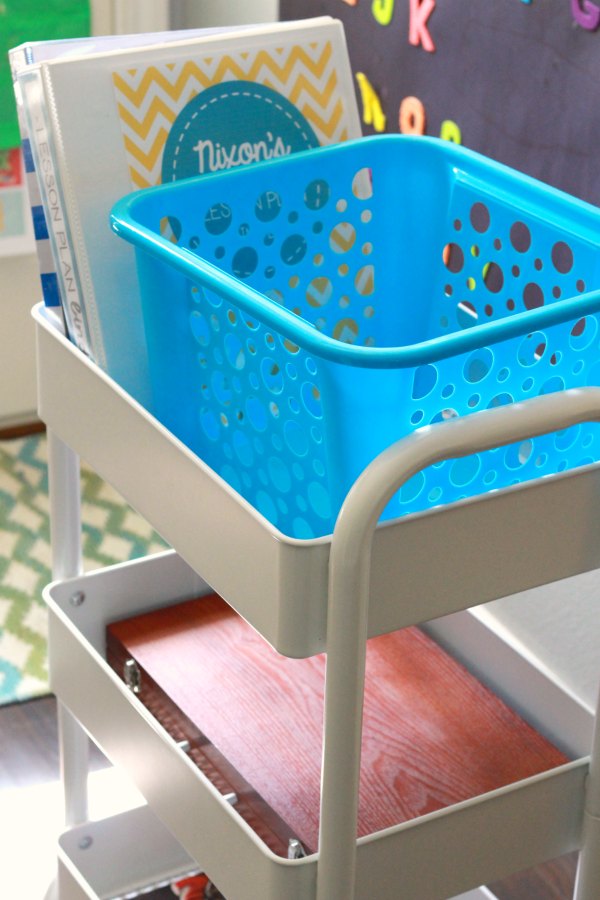
Don’t confine yourself to your homeschool room alone! We use our family room to comfortably read books and store our overdue library books. We use this awesome rolling cart to transport our work around easily if we decide we need a change of scenery and want to do work in the kitchen or elsewhere. And don’t forget the great outdoors. There’s no better classroom than nature!
So there’s our little learning nook. Now if only I could find a pen, we’d be able to get started!

(Had to include this outtake picture!)
How do you organize your homeschool room? Any tips you can share in the comments???
Julie is a frazzled mom of three tornadoes. As a dorky second-generation homeschooler, she writes about learning and play, natural living, special needs parenting and matters of the heart. She serves an astounding God that radically saved her.
Follow My Mundane and Miraculous Life through social media!


![]()
[…] found that having an organized school room has made this task rather enjoyable! I use portions of this free school planner so I can see what is […]